
Your first 15 minutes
A complete walkthrough, then three everyday stories.
Part 1 - set up (about 10 minutes)
- Open the app: Apps -> Sanestly Warranty and Repair -> Open.
- Settings tab -> Workspace: fill in business name and support email -> Save settings.
- Settings -> Warranty products: choose your default (we suggest All products eligible unless excluded to start) -> Save warranty settings.
- Settings -> Connection & data -> Sync orders now.
- Optional: Settings -> Customer portal -> copy the claim link for later use.
- Products tab -> Sync catalog so product and category names load.
- Optional: create a test case (Cases -> New case -> tick Test case) and move it through a few statuses to see how it feels.
Part 2 - three everyday stories
Story A - a customer walks in with a faulty item (staff records it)
- Sarah brings back a drill that stops working. You know her order number.
- Orders tab -> find order
1001-> Create case from this order. - Tick the drill line, pick request type Faulty item, reason Defect, describe the problem, confirm her email.
- The case
WR-2026-000001appears in your queue as Submitted. - Open it, move it to Under review, assign it to a teammate, set a due date.
- You message the customer from the Conversation card - she gets an email and can reply in the portal.
Story B - a customer makes a claim themselves
Alex opens your claim link (or the My Warranty element), signs in.
On My products he sees his espresso machine shows IN WARRANTY.
He opens it, presses Warranty claim under Get support, describes the fault, attaches a photo, submits.
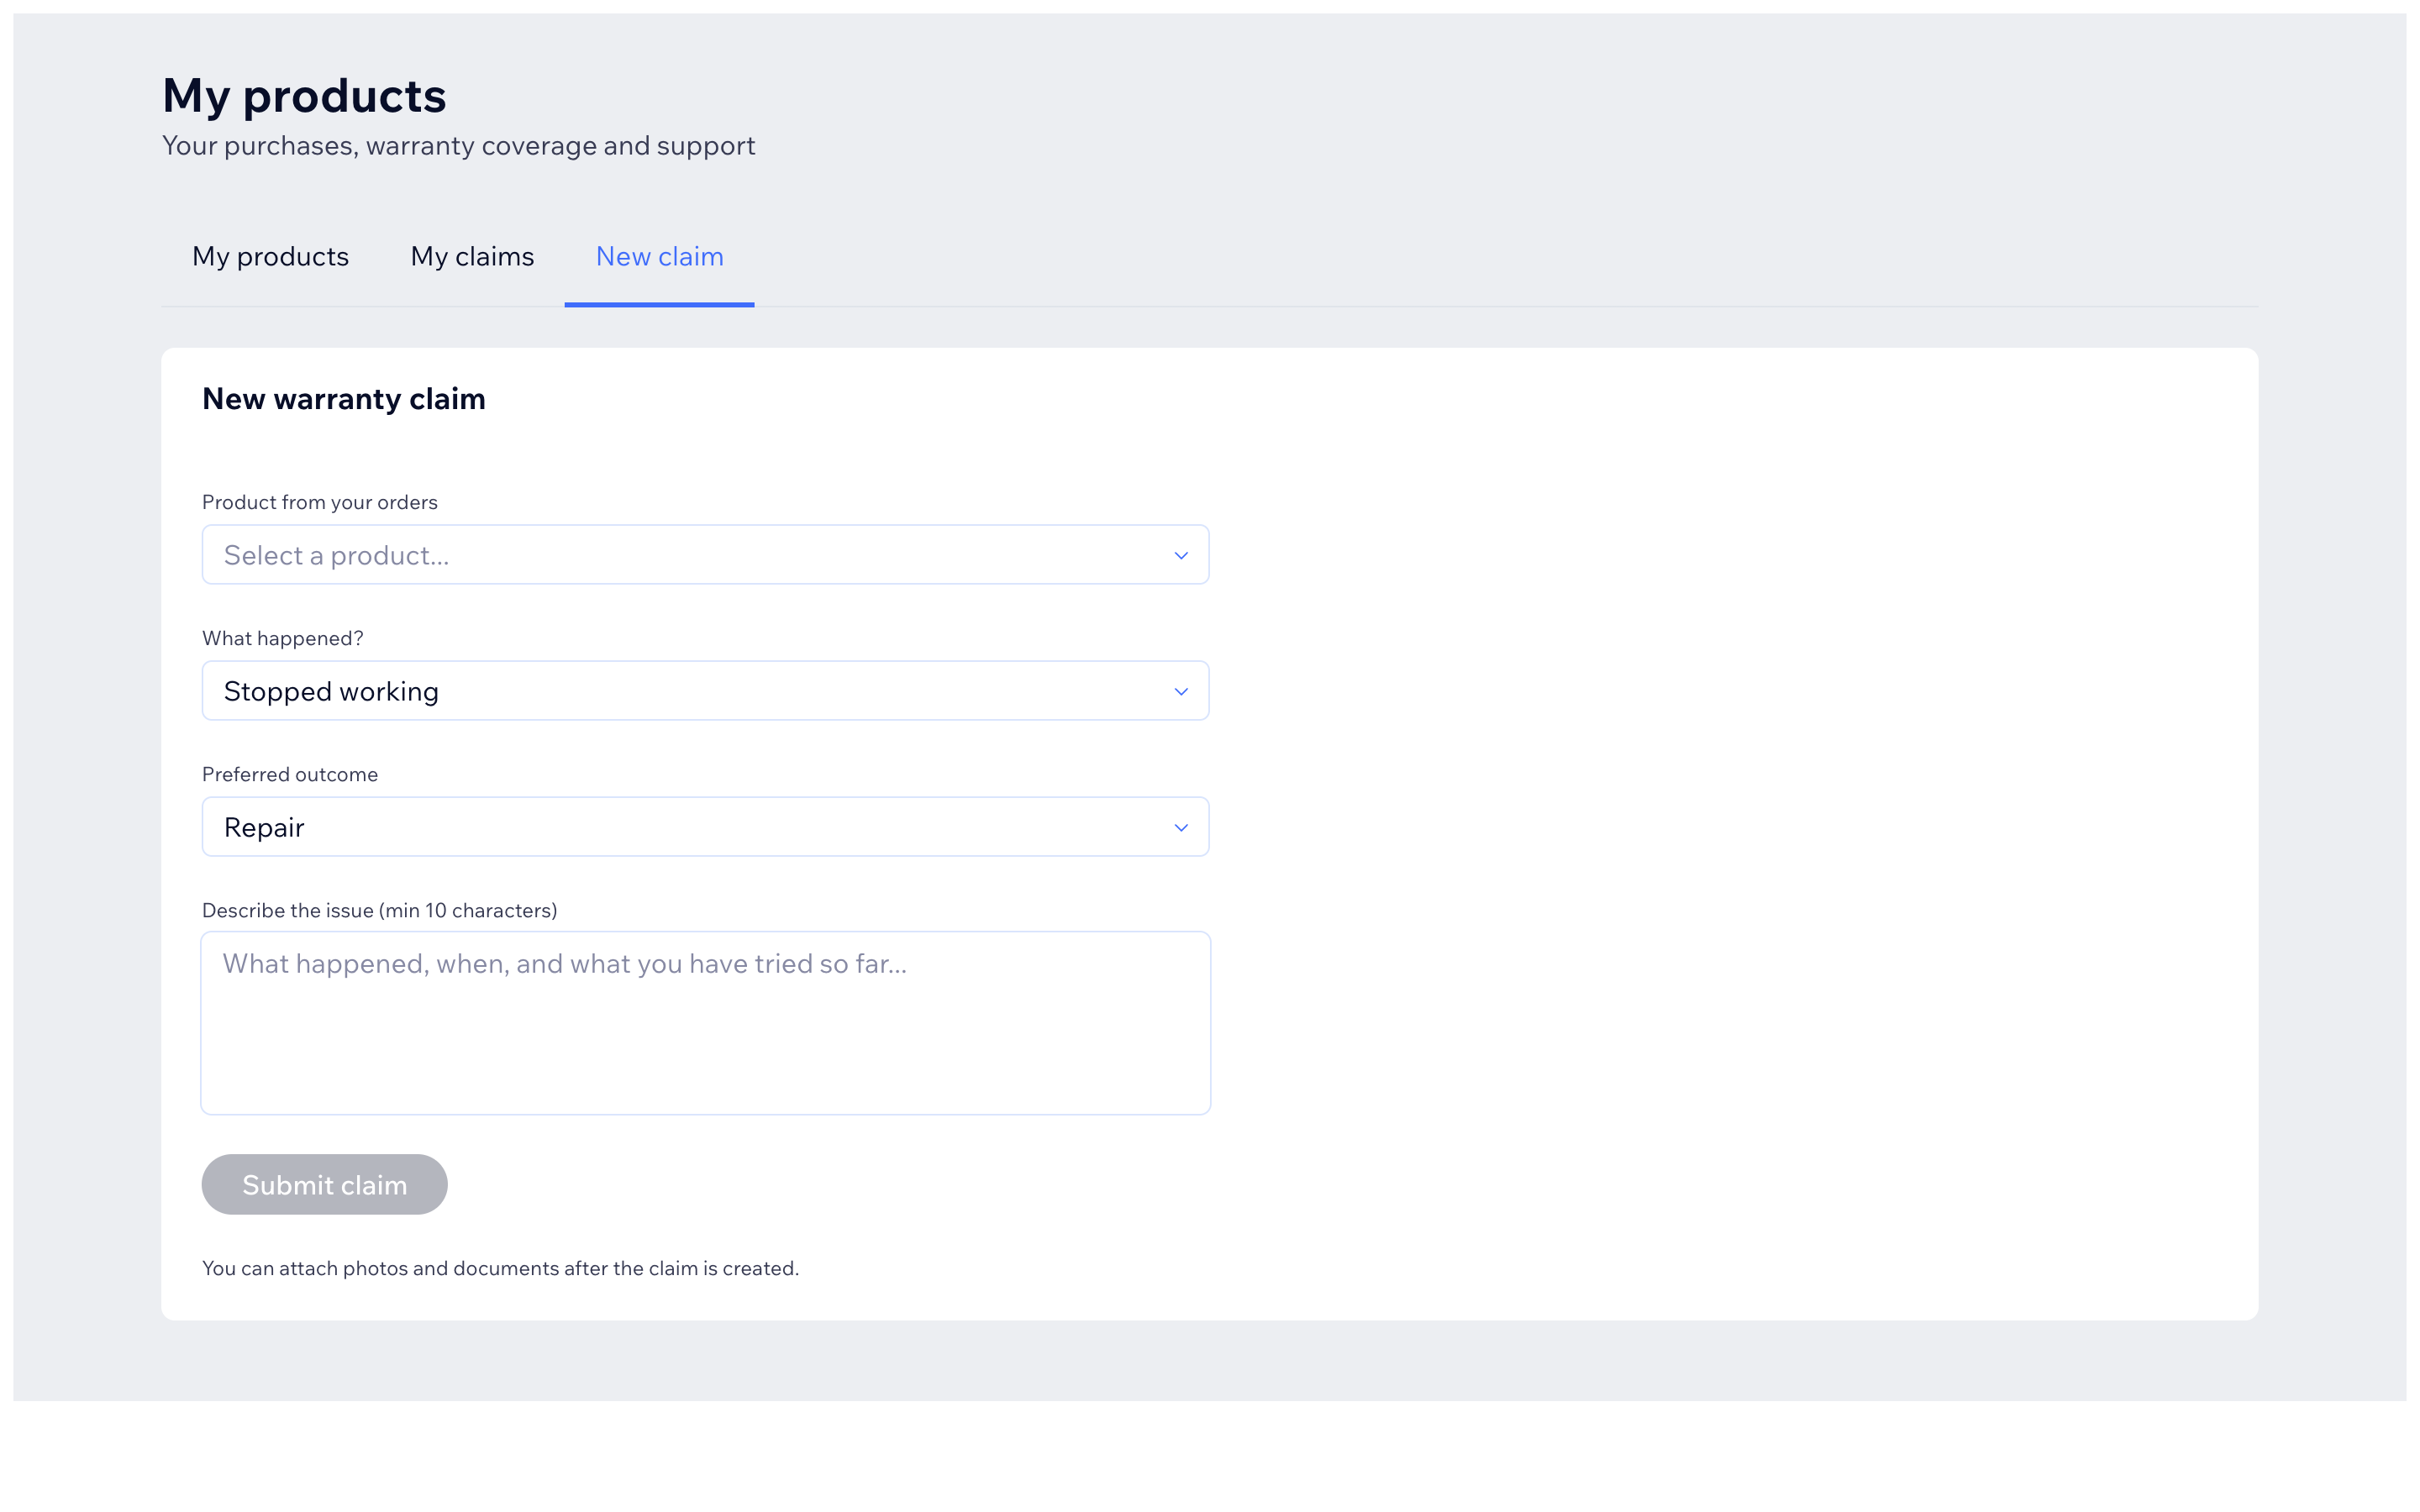
In the picture: what Alex fills in. You see the new case in Overview -> Active queue as Submitted.
You move it to Needs info - Alex gets an email asking for details, he answers in the portal, you move it to Under review and continue.
Story C - an engineer finishes a repair
- The drill case is at Approved for return; you pressed Issue RMA and Sarah sent it in with the RMA number on the box.
- Parcel arrives: add the tracking under Add return shipment, move the case to Received, then Under service.
- Press Create work order and link partner FixIt Service (or keep it in-house).
- The engineer writes the diagnosis and work log; when done, the work order goes to Done and their visit report files onto the case.
- Move the case to Resolution ready -> Shipped (add the return tracking) -> Delivered -> Closed. Sarah saw each step in the portal and got the emails you configured.