
Customer portal
The portal is the page your customers use to see what they bought, check warranty cover, open claims, upload photos, and follow progress - without emailing you.
Give customers access (two ways)
Nothing is added to your shop automatically. Choose either or both:
- The "My Warranty" site element - open the Wix editor, go to Add Elements -> My Apps and place the My Warranty element on a page (for example a "Support" or "My account" page). Customers signed in to your site use it straight away.
- The claim link - in the app, Settings -> Customer portal shows a link you can paste into emails, your contact page, or order emails.
Customers sign in with their site account, or use order number + a 6-digit email code (no account needed - see "Guests" below). You can turn guest access off in Settings -> Allow guests to track claims by order number + email code.
What customers see
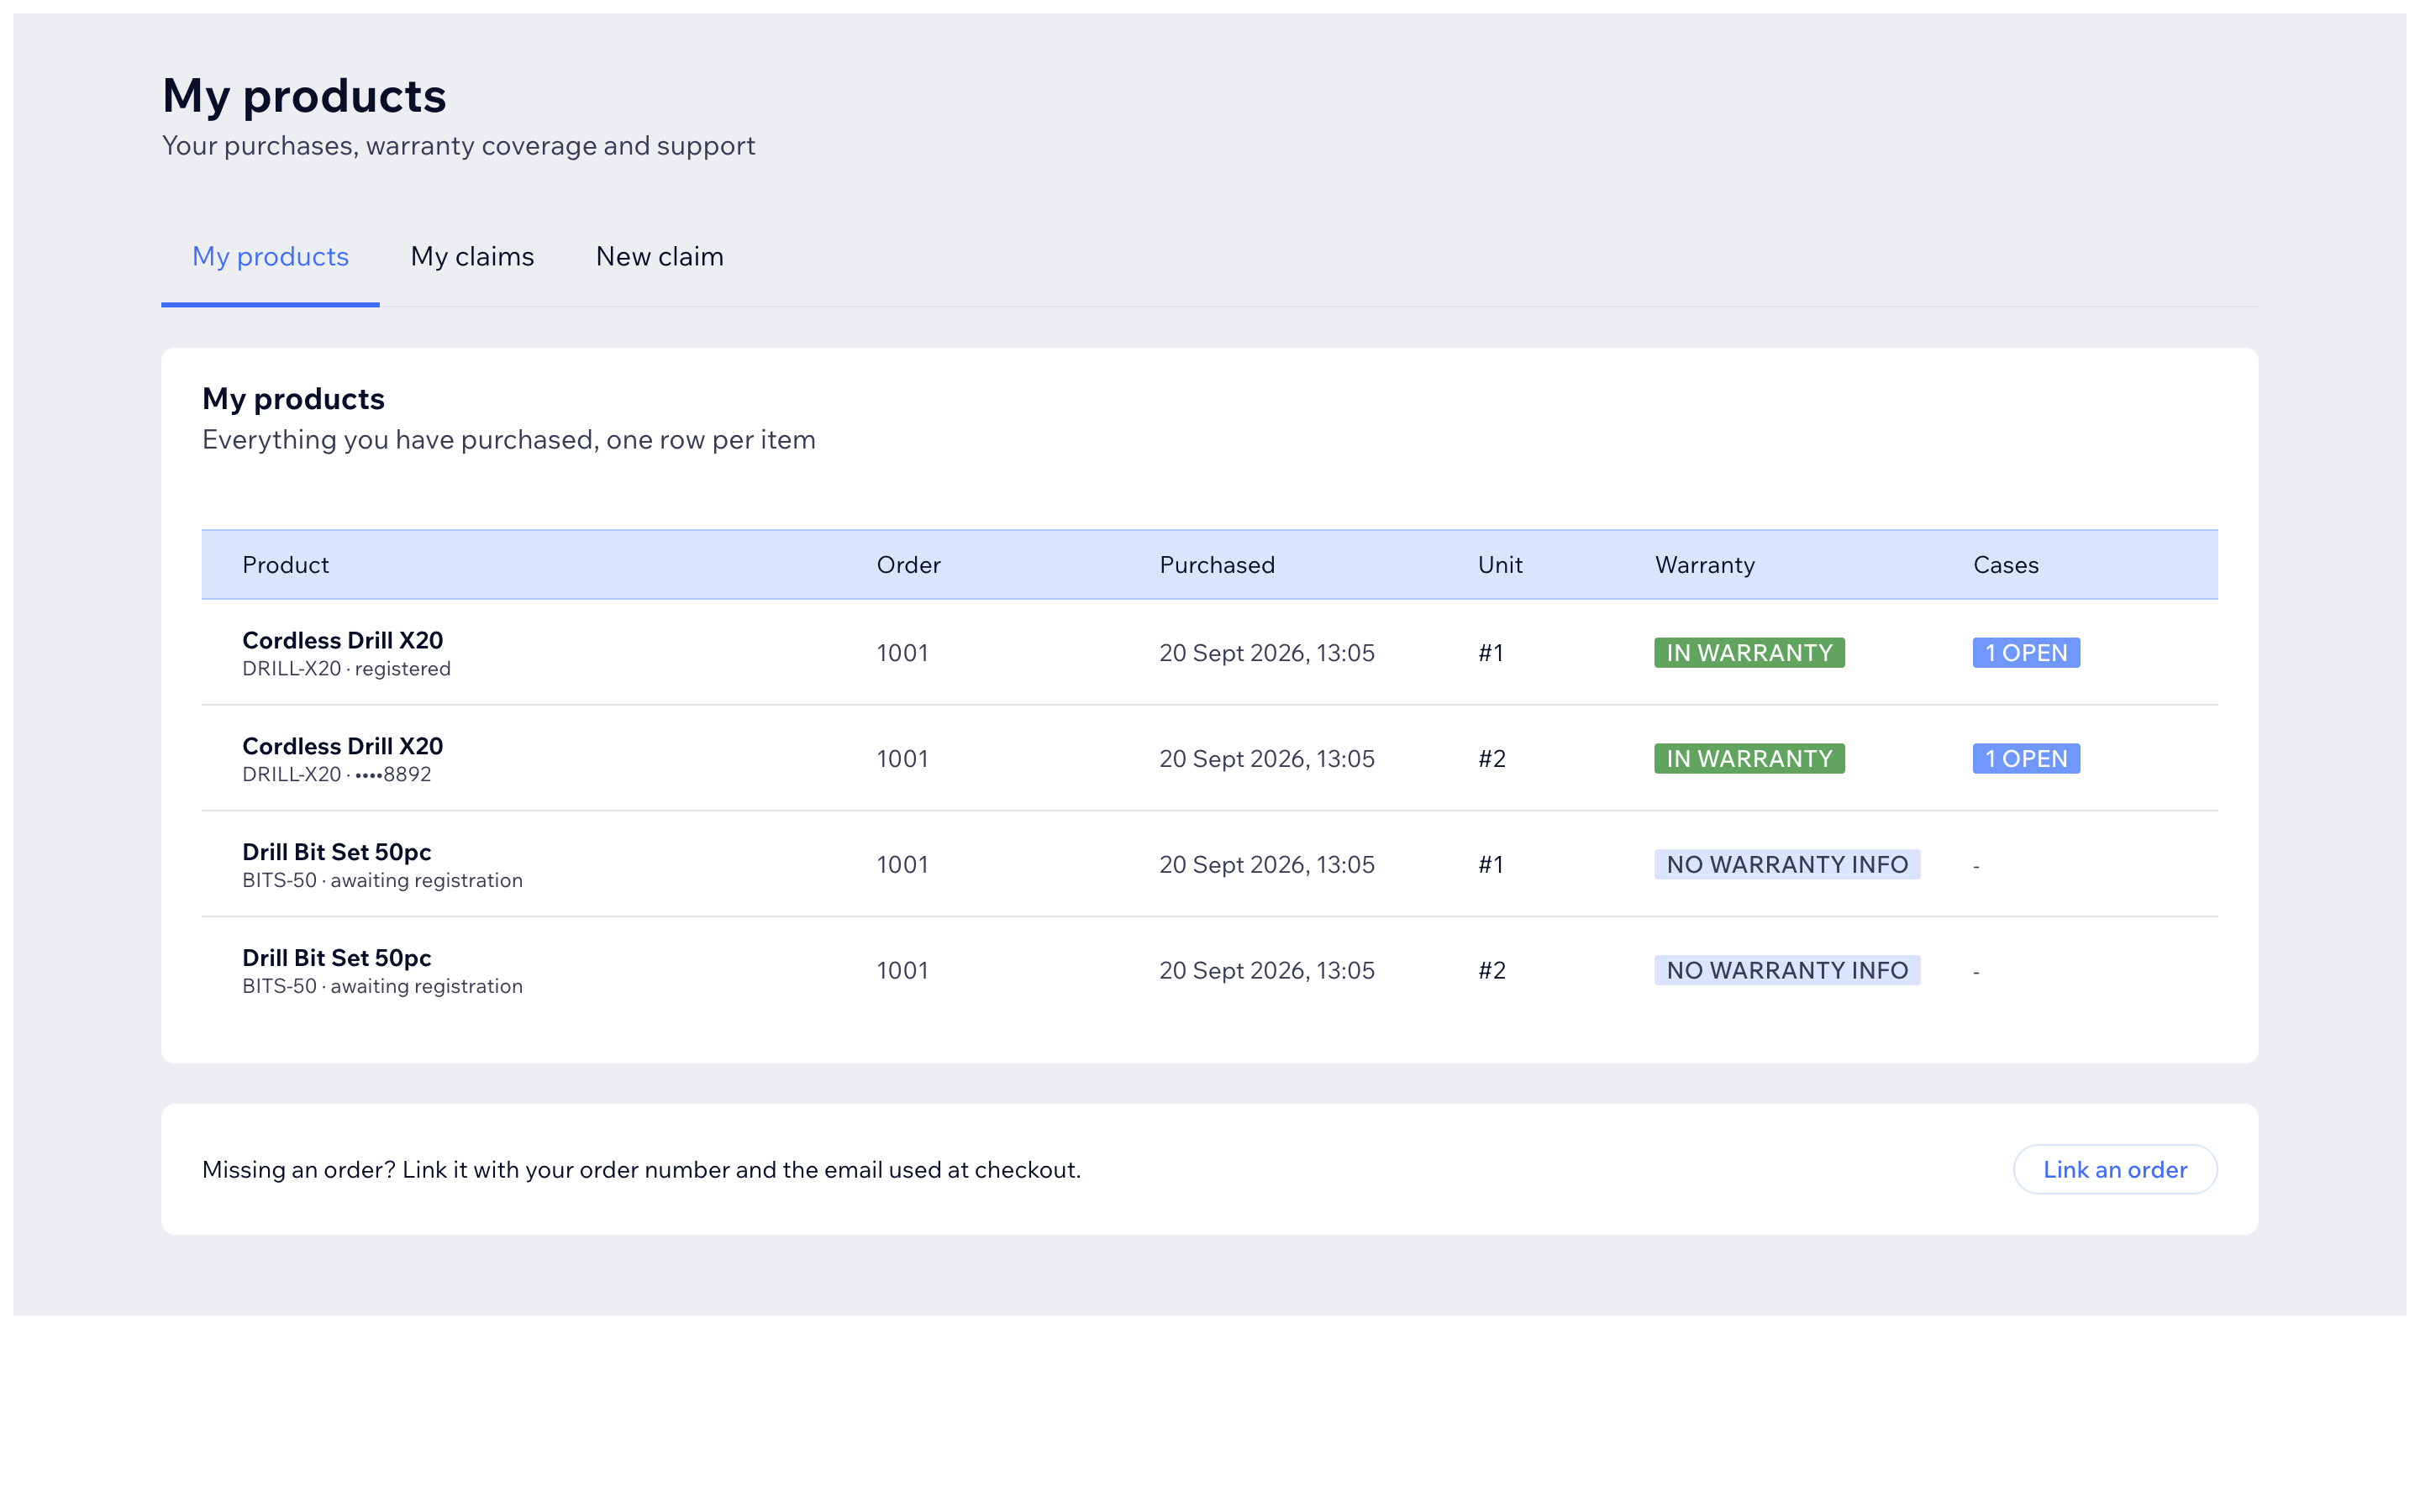
- My products - their purchases, one row per item, with coverage badges like IN WARRANTY.
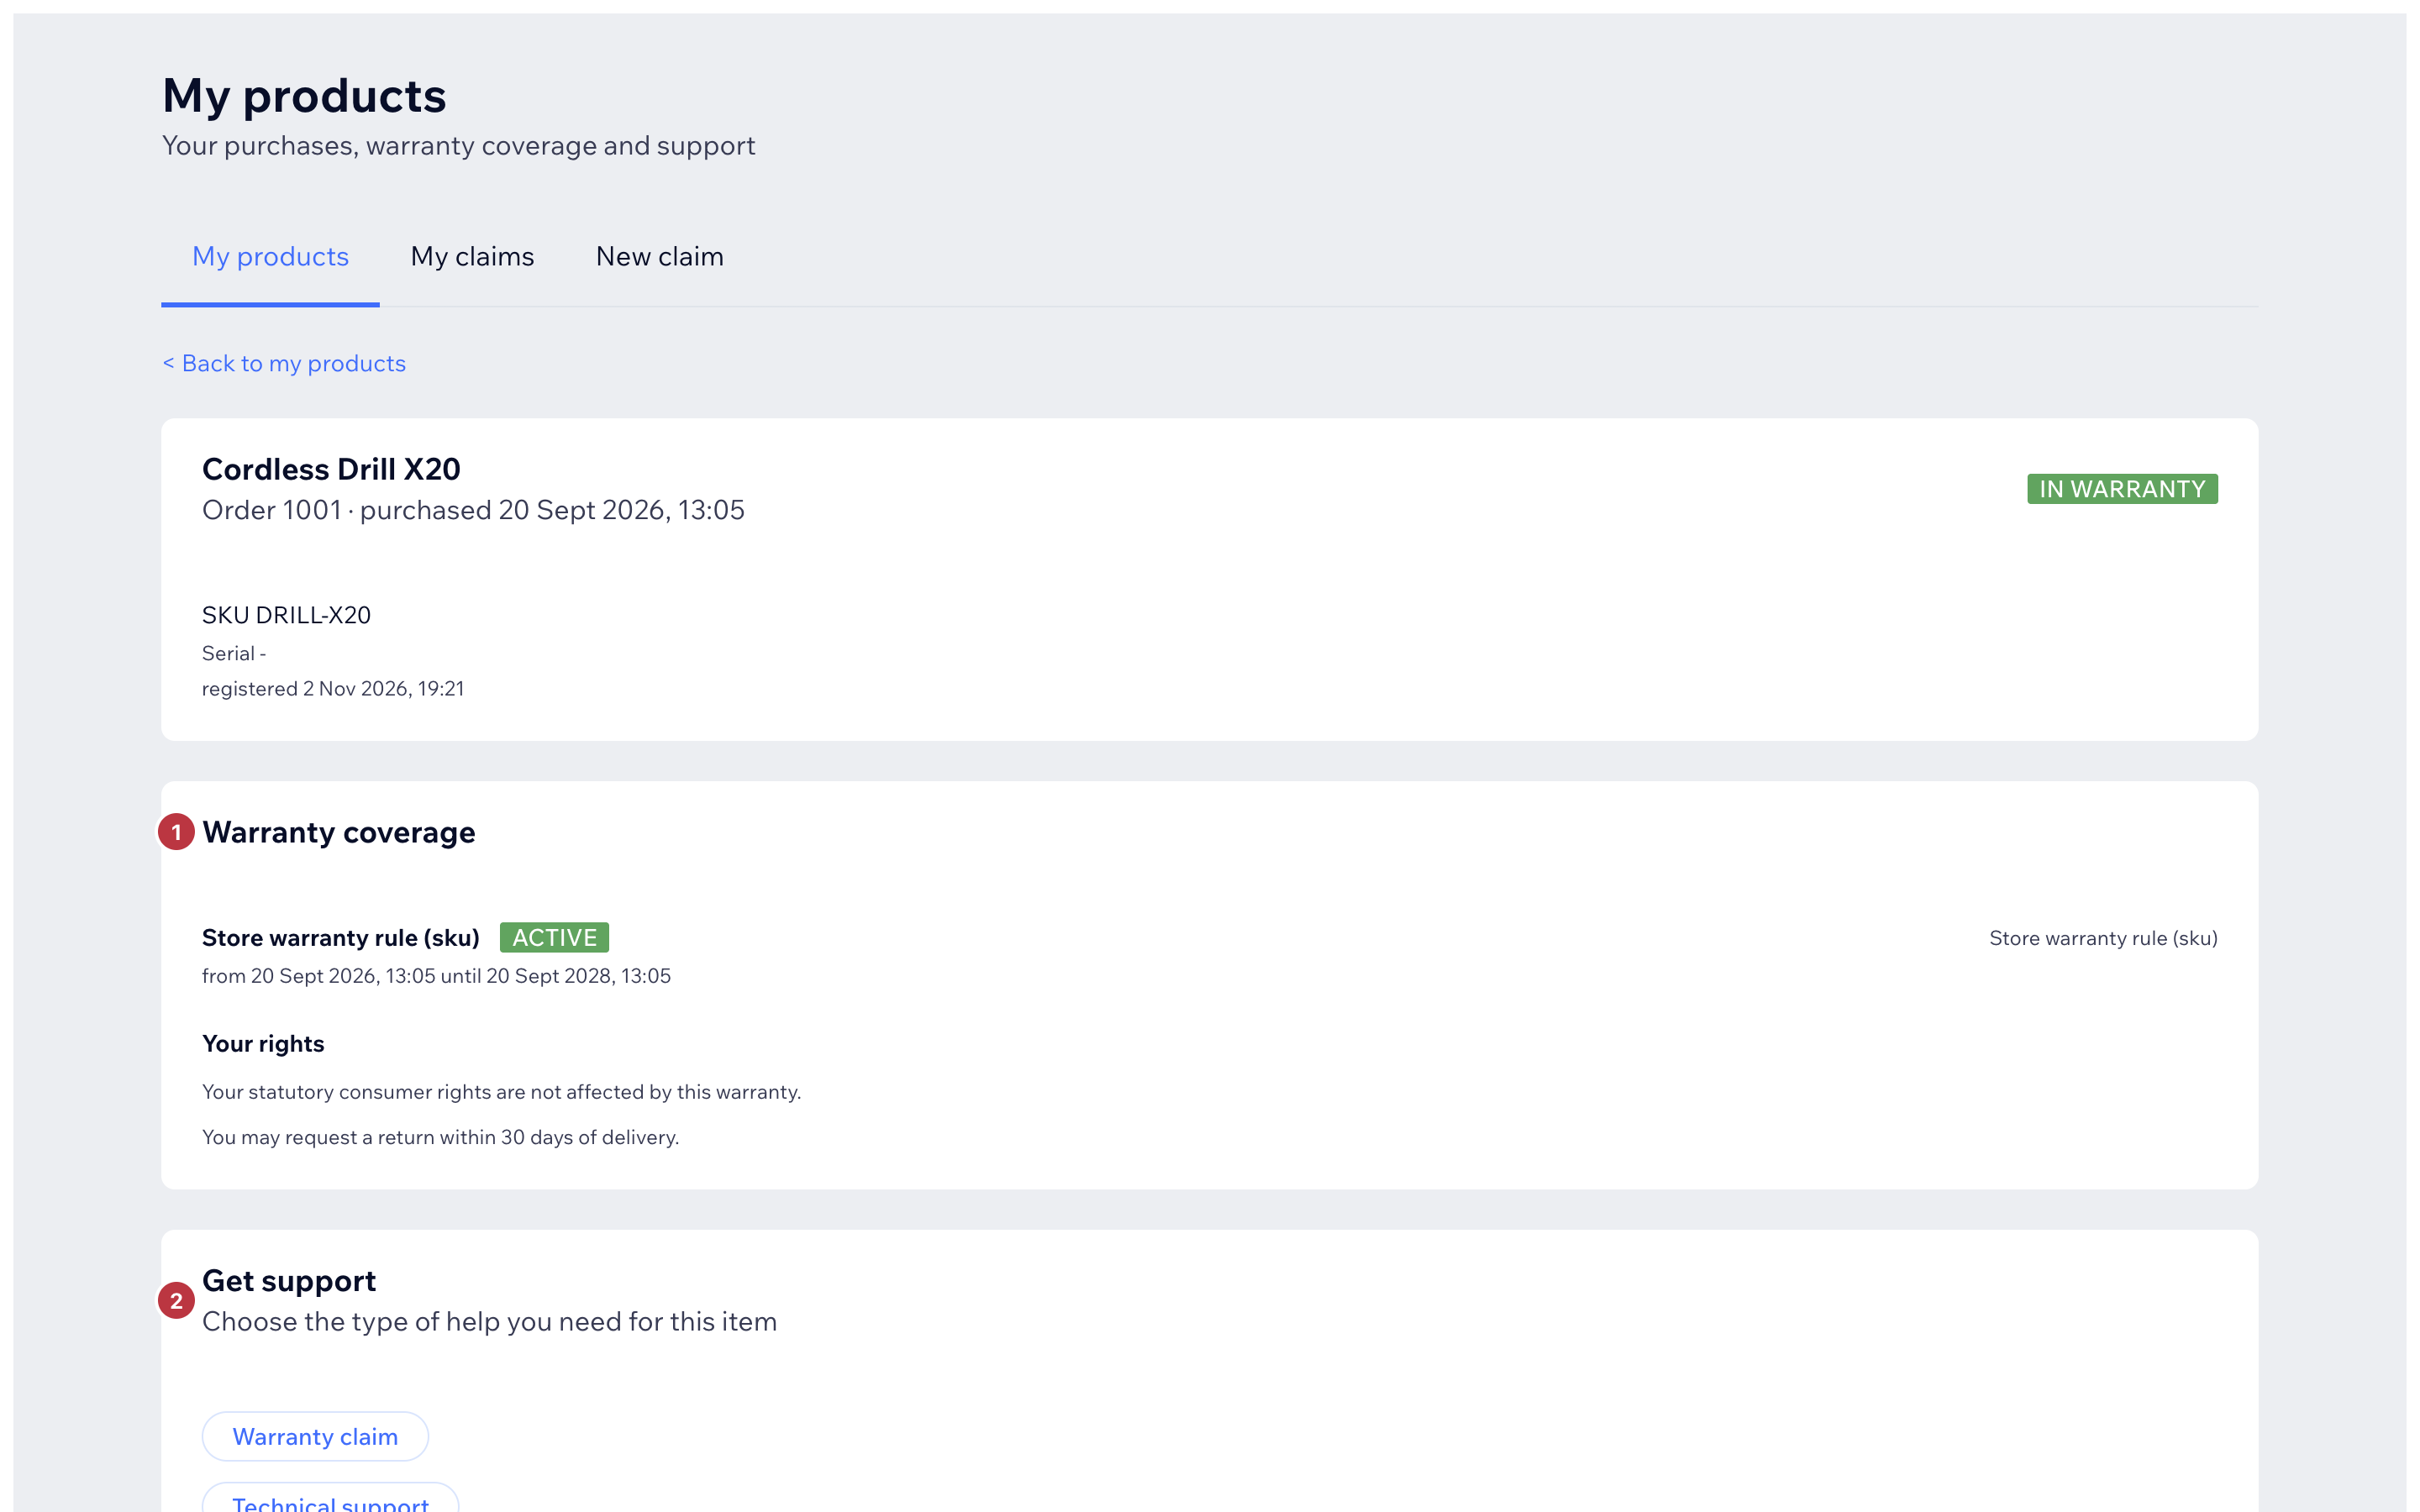
- Product page - coverage dates, your rights/returns texts, the Get support buttons, and past cases for that item.
- My claims - all their cases and statuses.
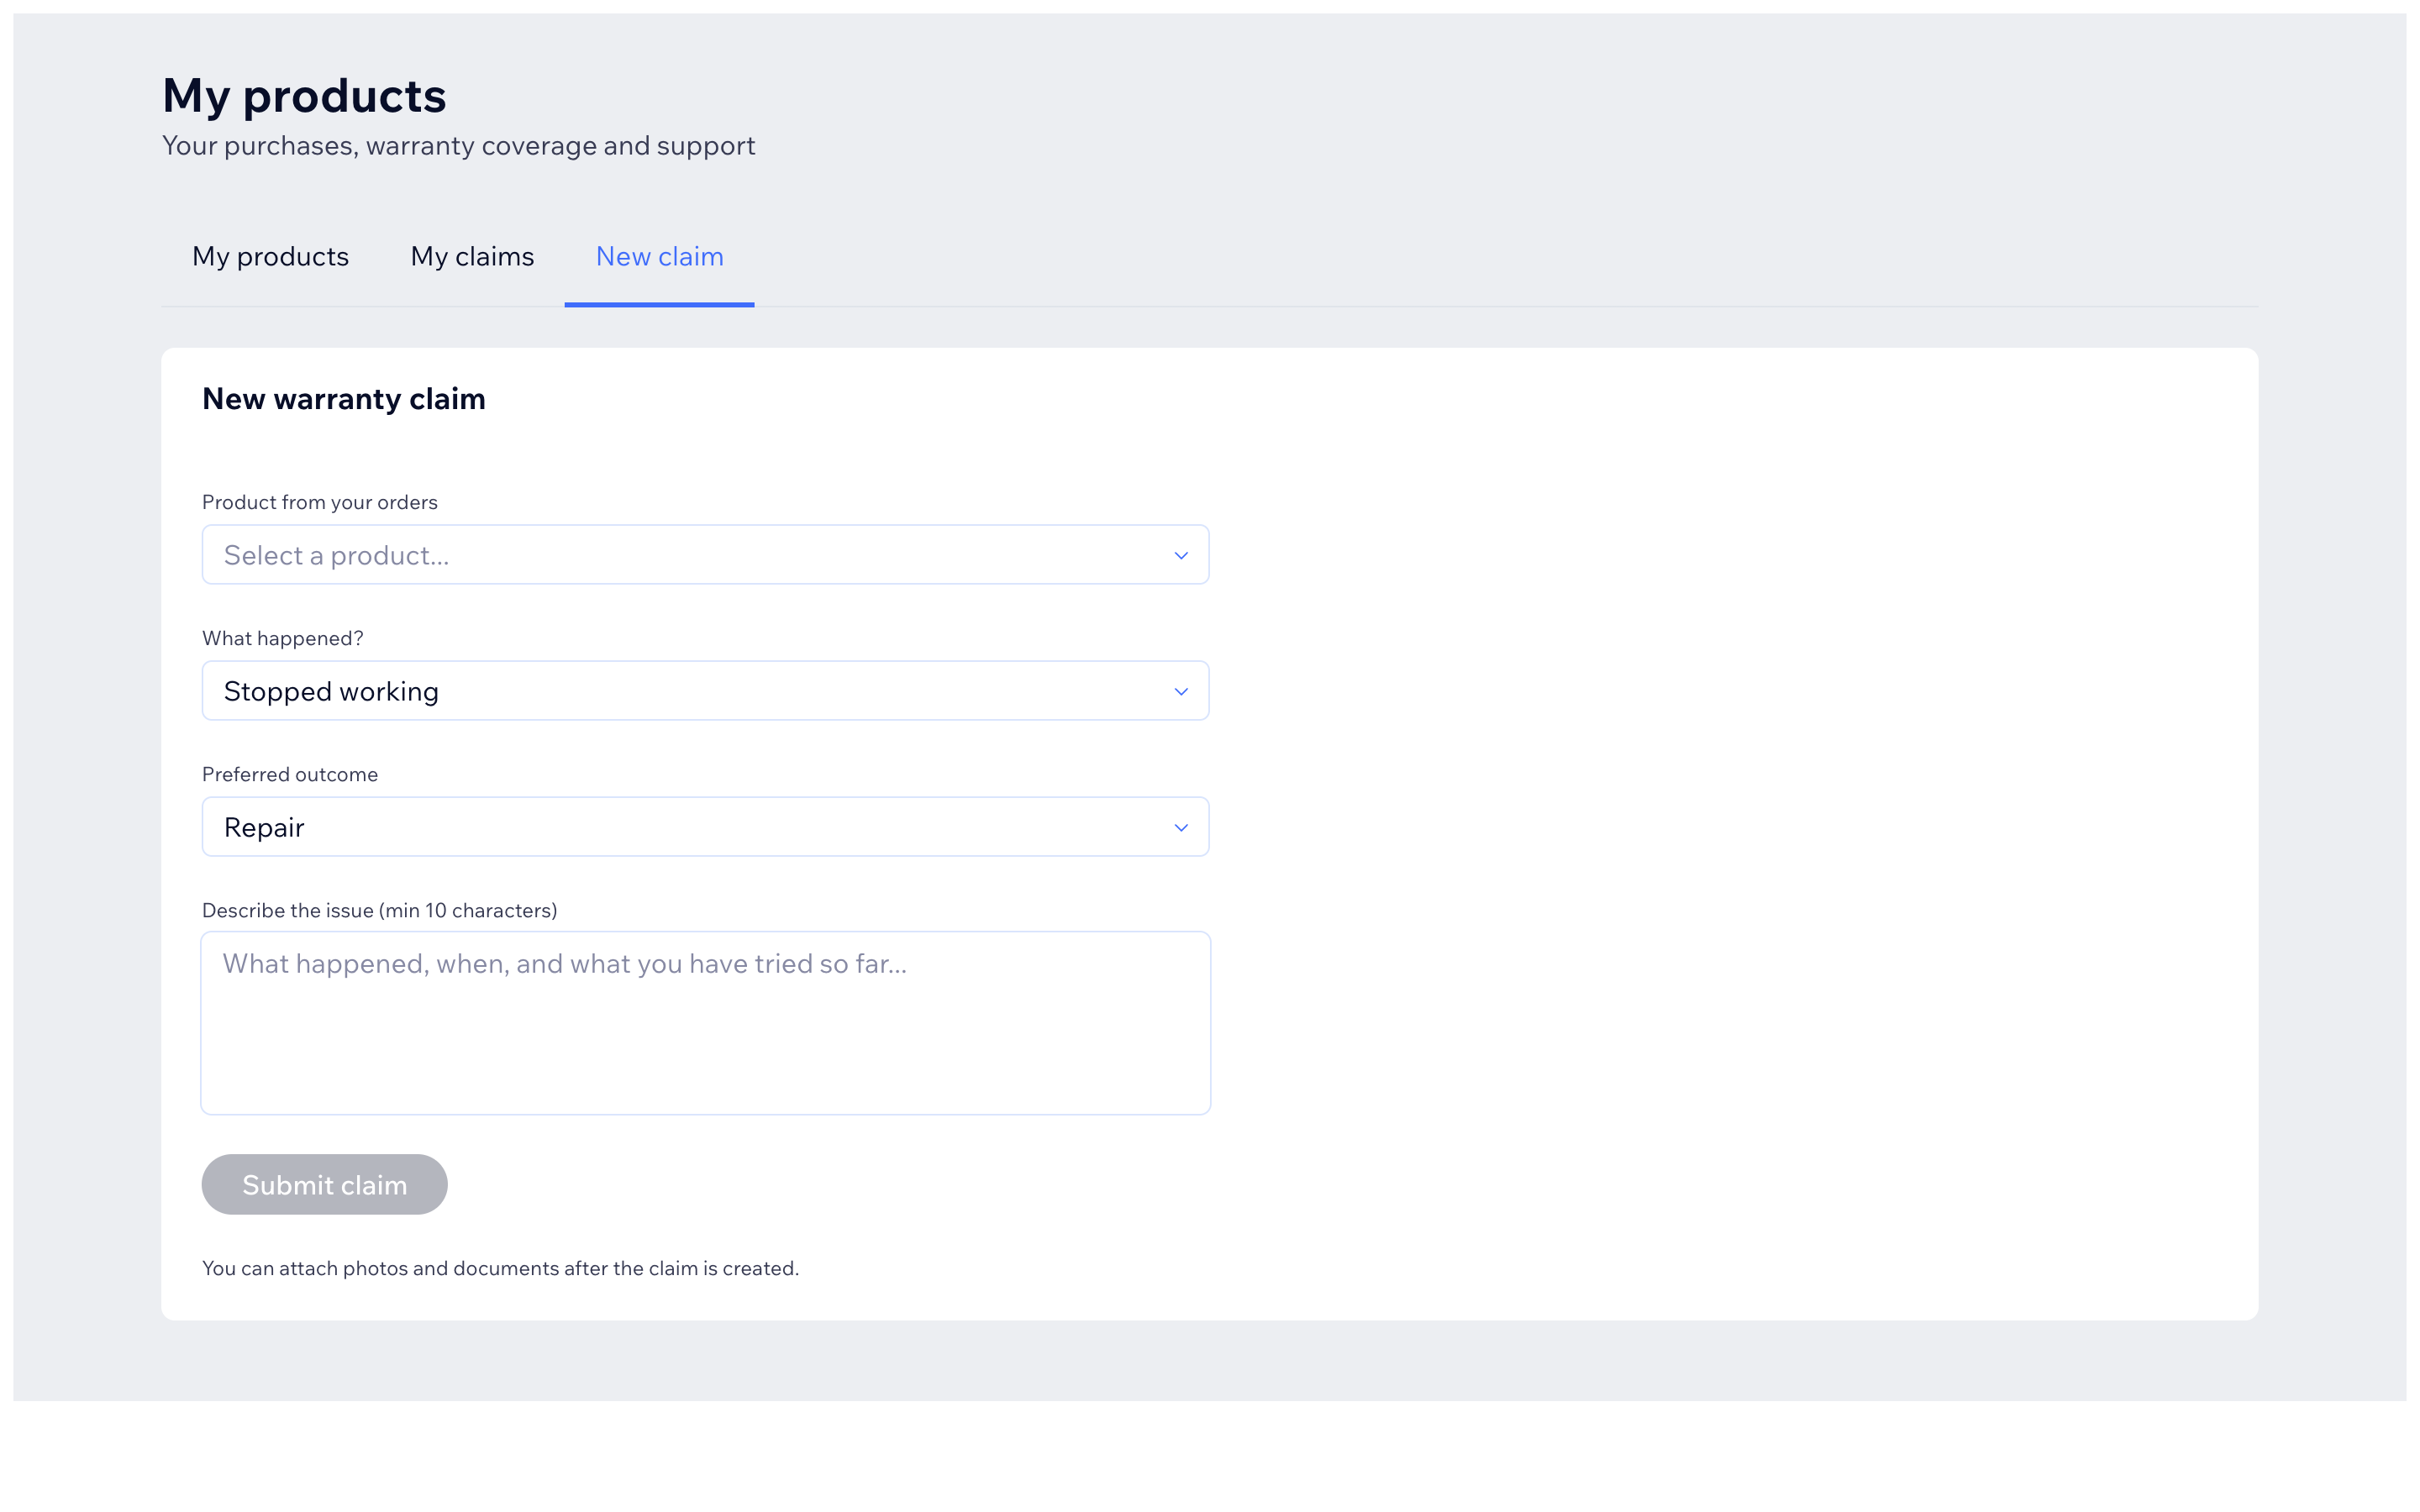
- New claim - they pick the product, describe the problem (at least 10 characters), and submit. They can attach photos or documents (JPEG, PNG, WebP, GIF or PDF up to 10 MB).
- On a claim they can read your messages, write back, and watch the Progress timeline.
If an order is missing from "My products", customers can link it themselves with Link an order - order number plus the checkout email, confirmed with a 6-digit code.
Guest access (no account)
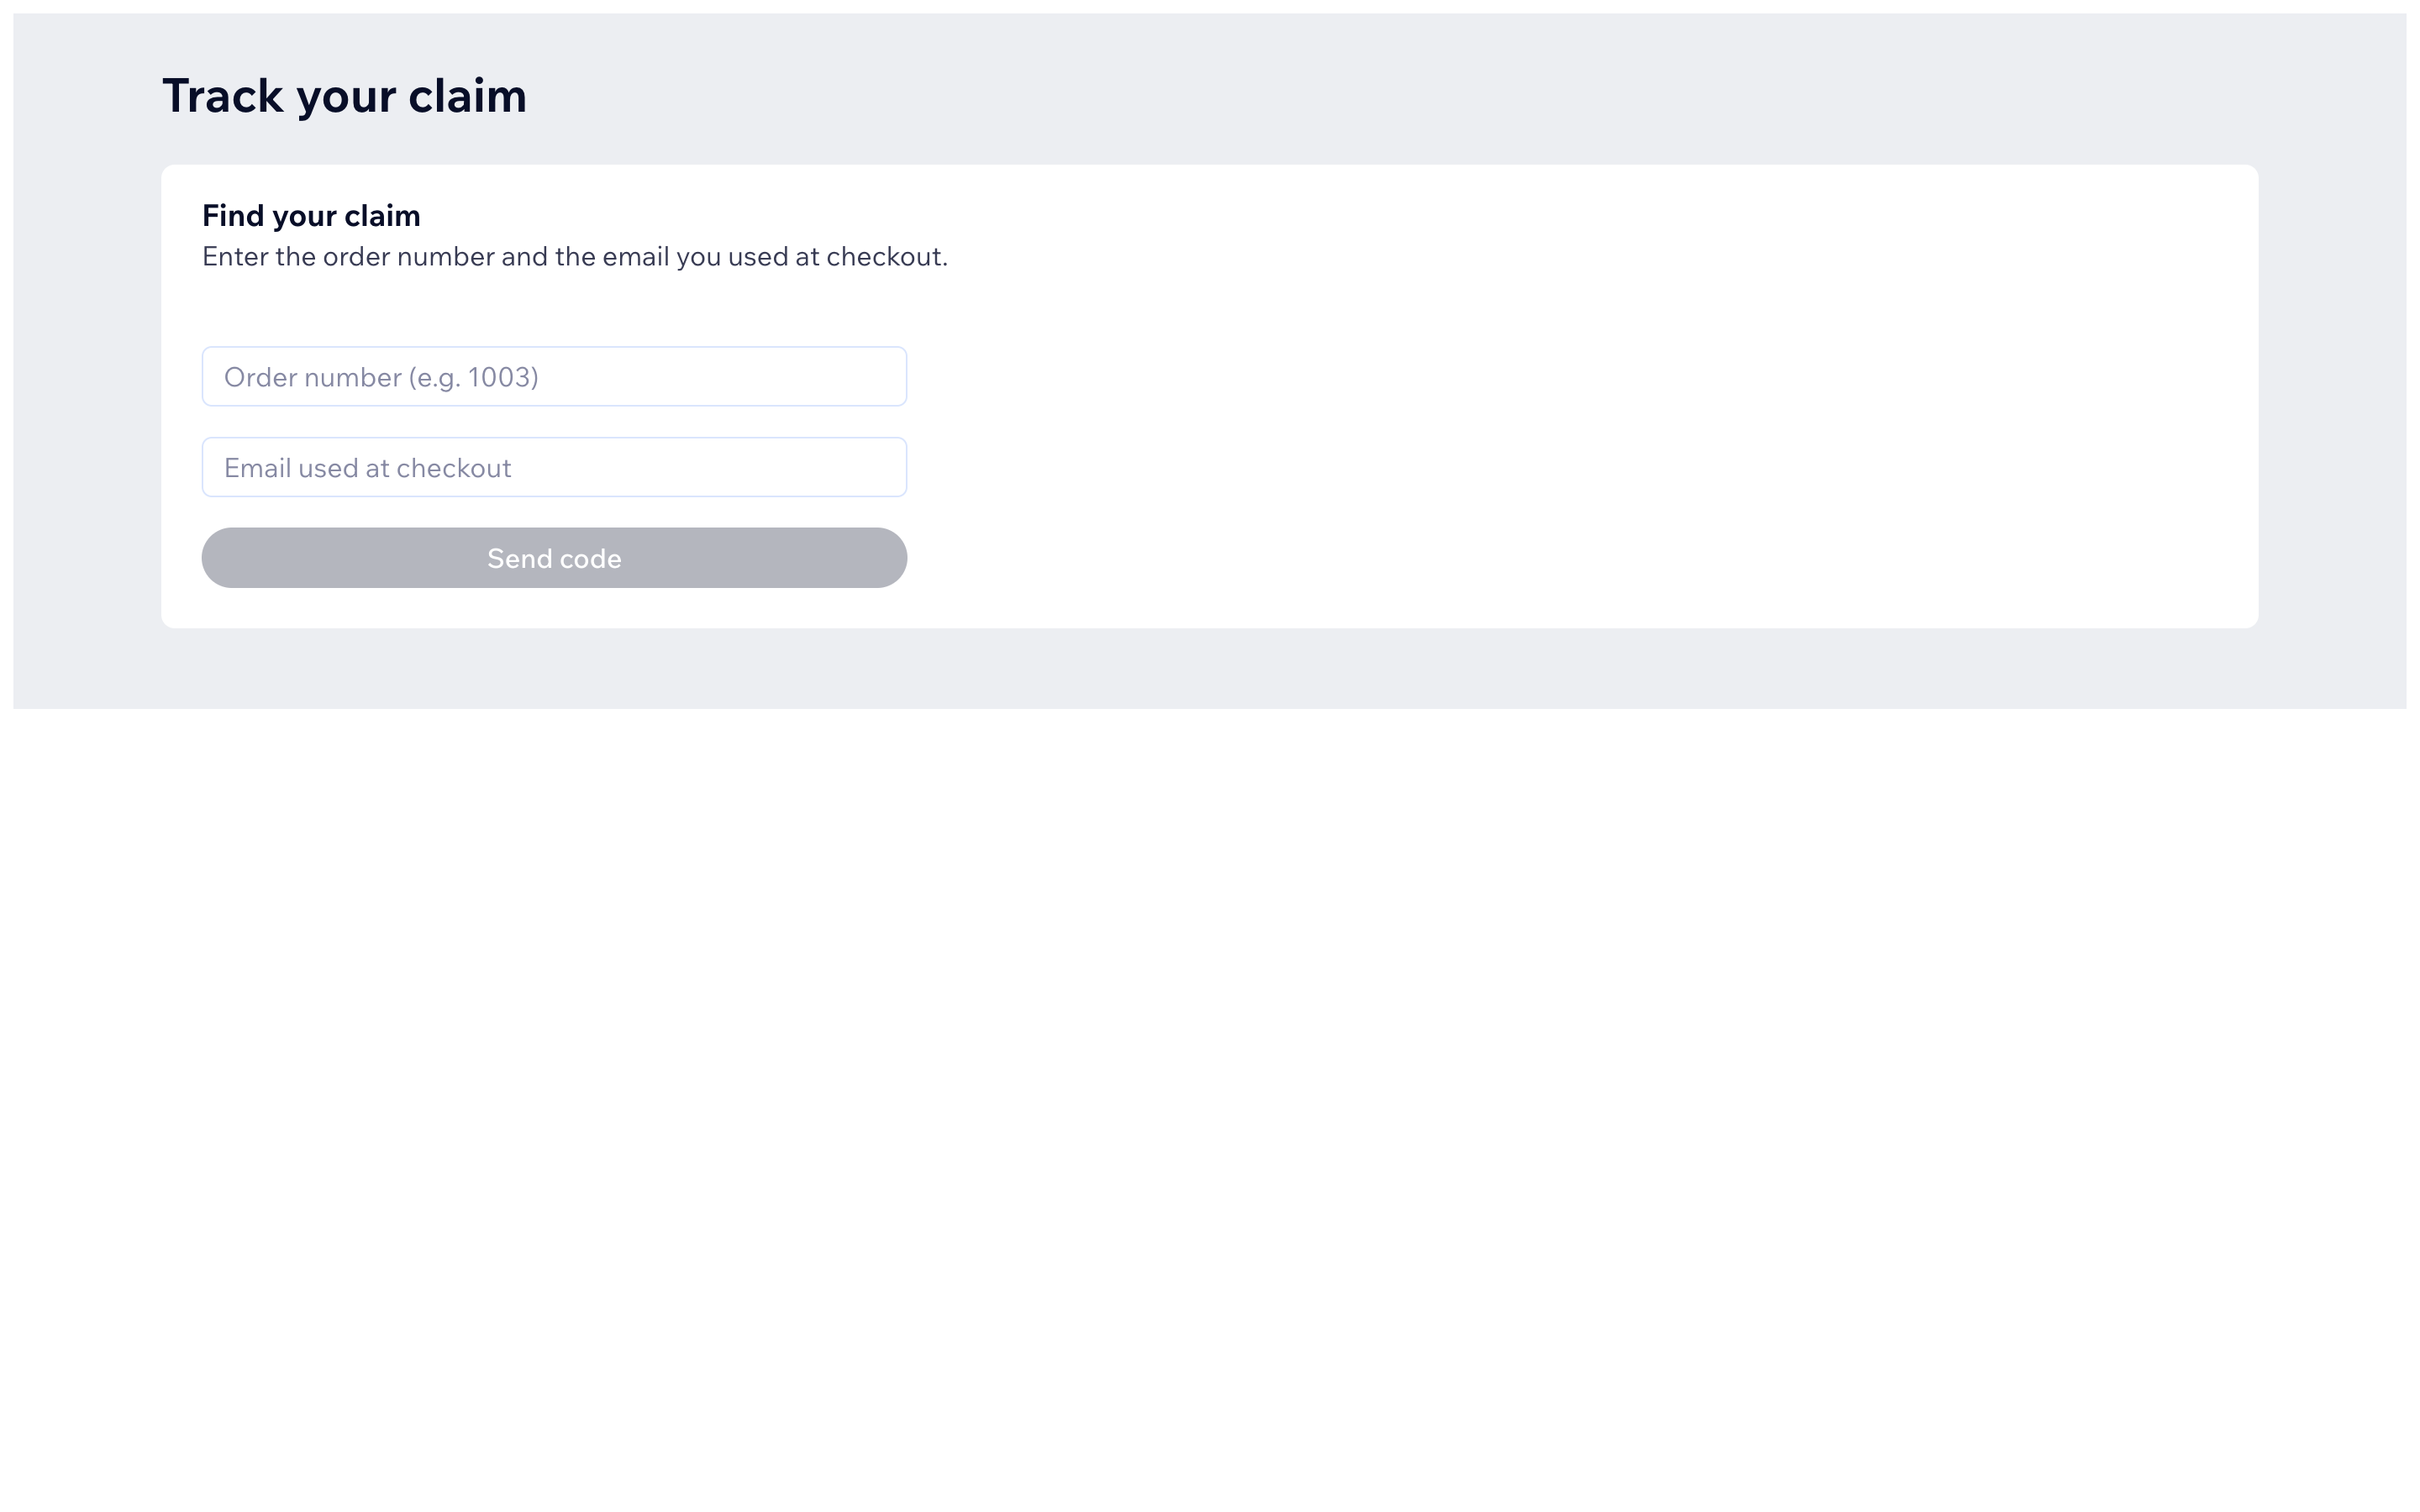
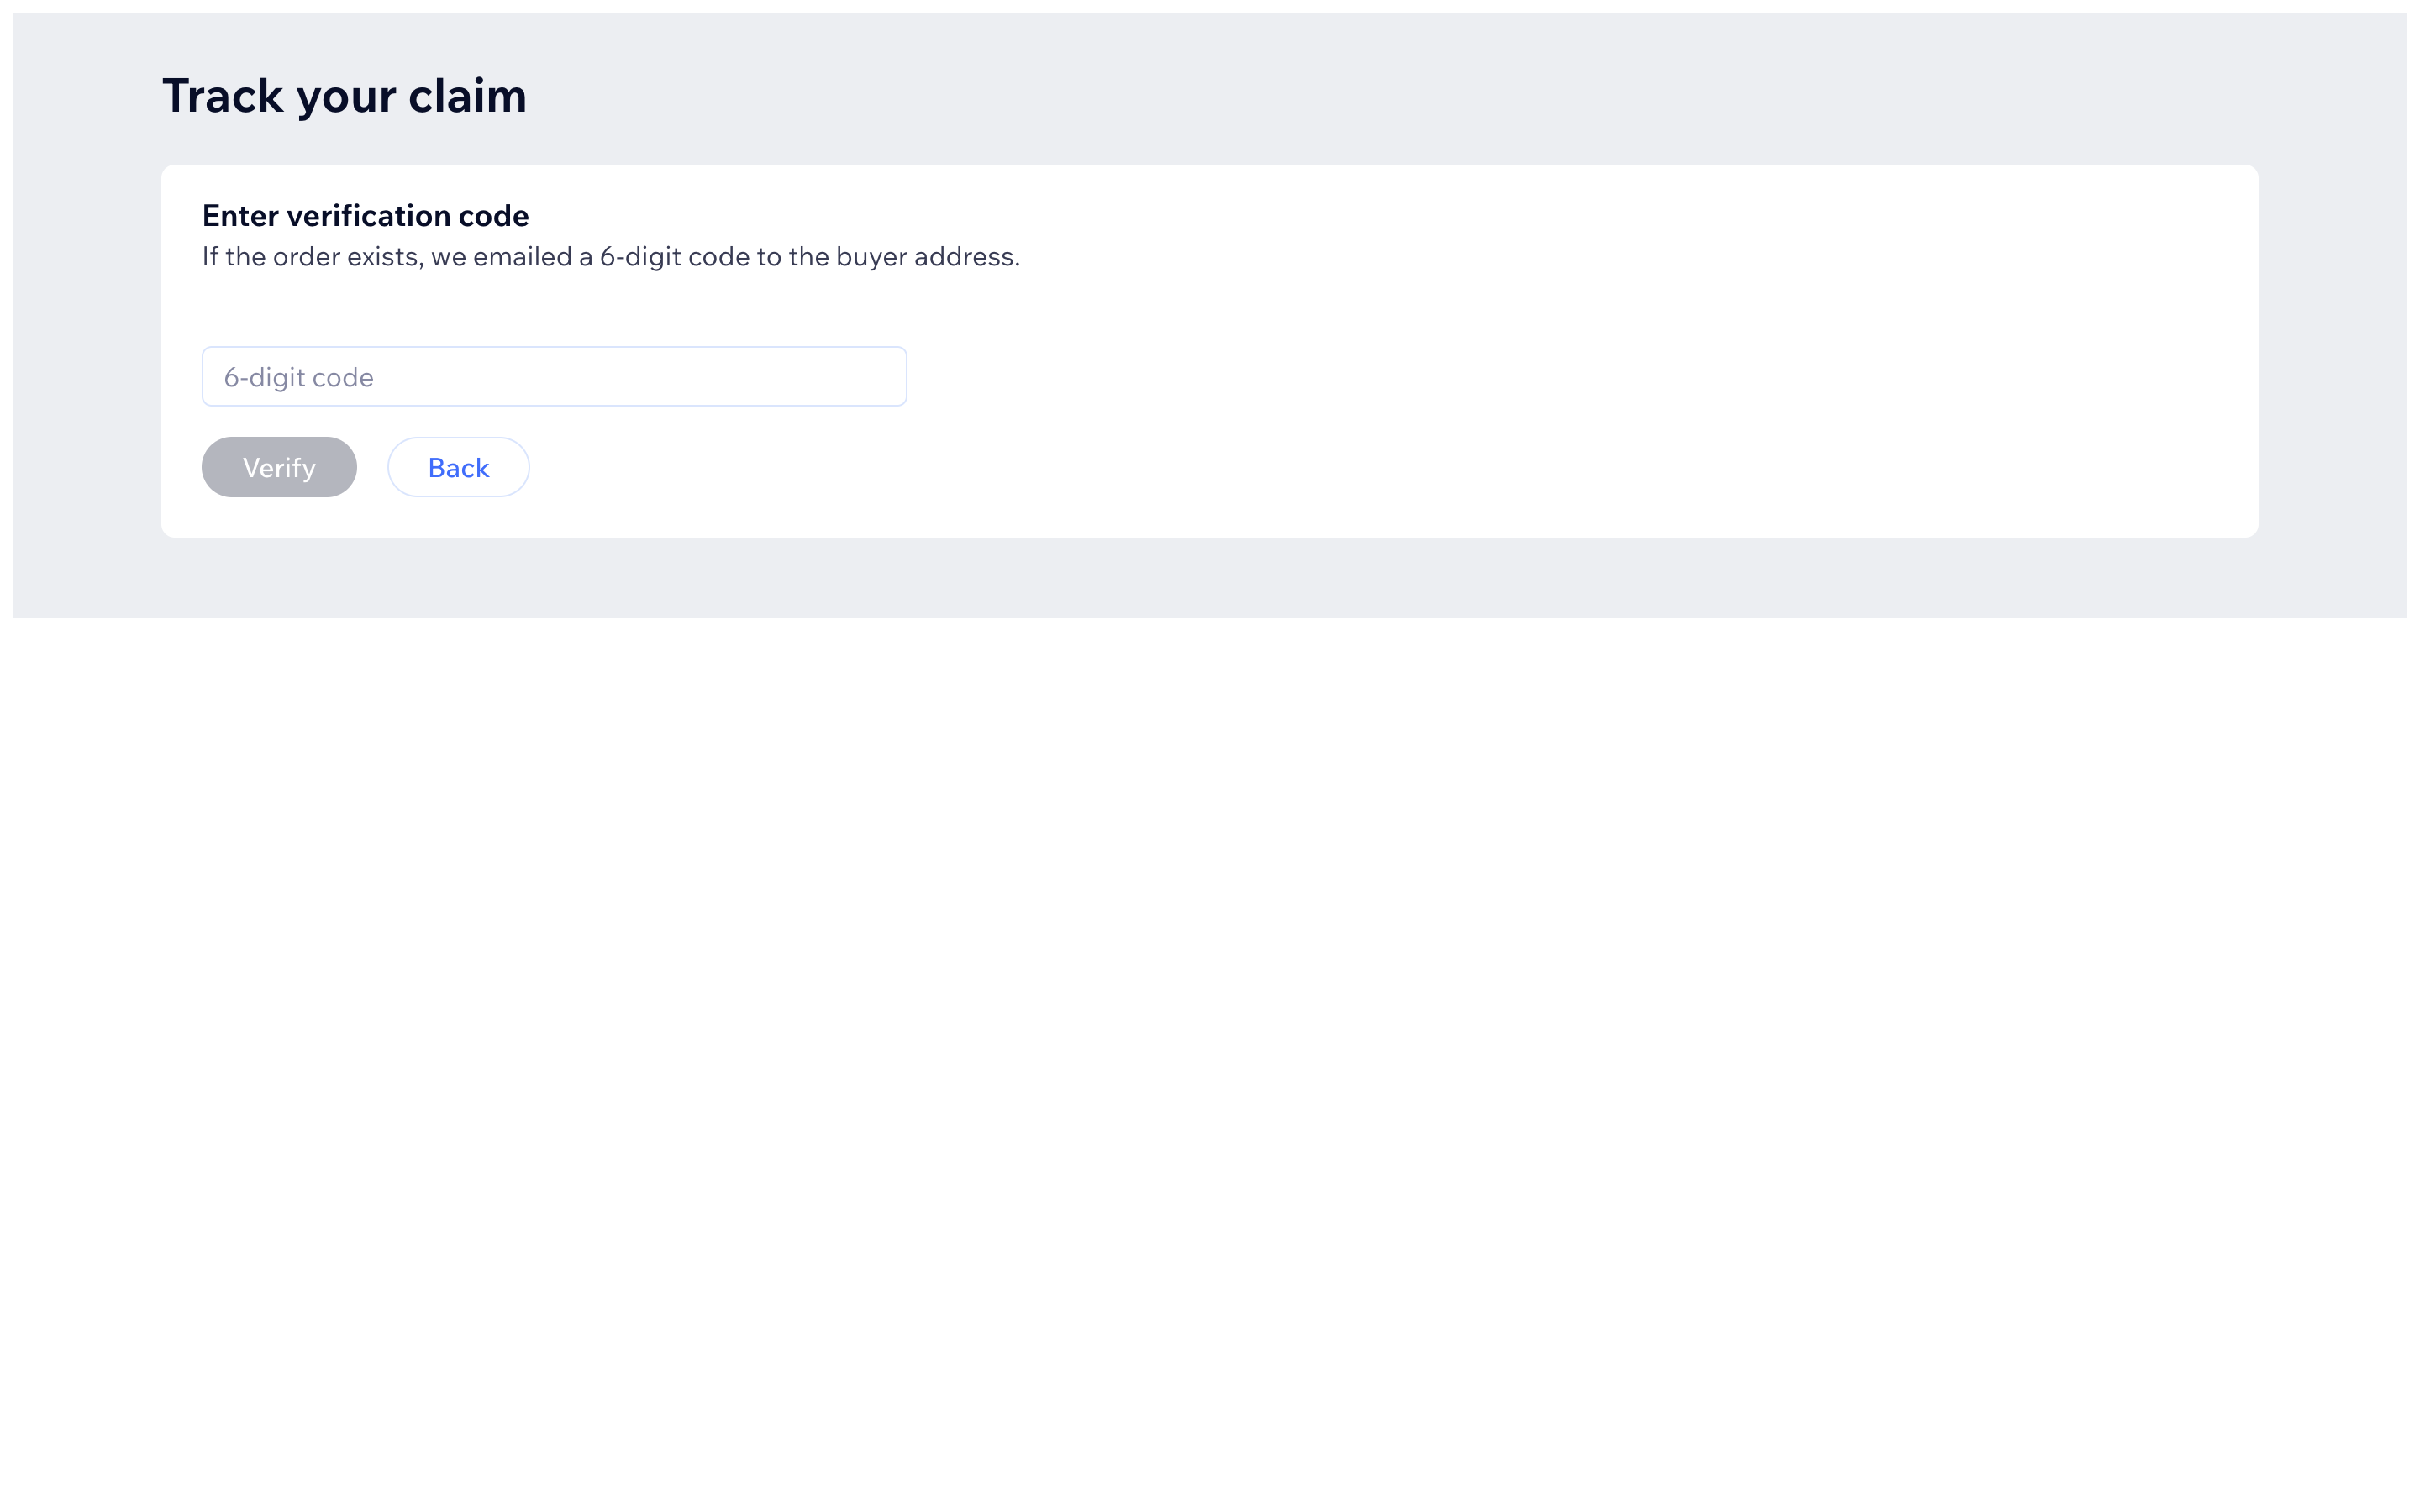
A buyer without a site account opens the portal link, enters the order number and the email used at checkout, presses Send code, types the 6-digit code from the email, and sees only that order's claims. Codes expire after 10 minutes.
Choosing which help actions customers get per product
The buttons under Get support (warranty claim, technical support, repair request, engineer visit, return, replacement, faulty item, damaged item, wrong item) are controlled per product on the Products tab -> Configure -> aftercare actions. Warranty claim and technical support are available by default.